


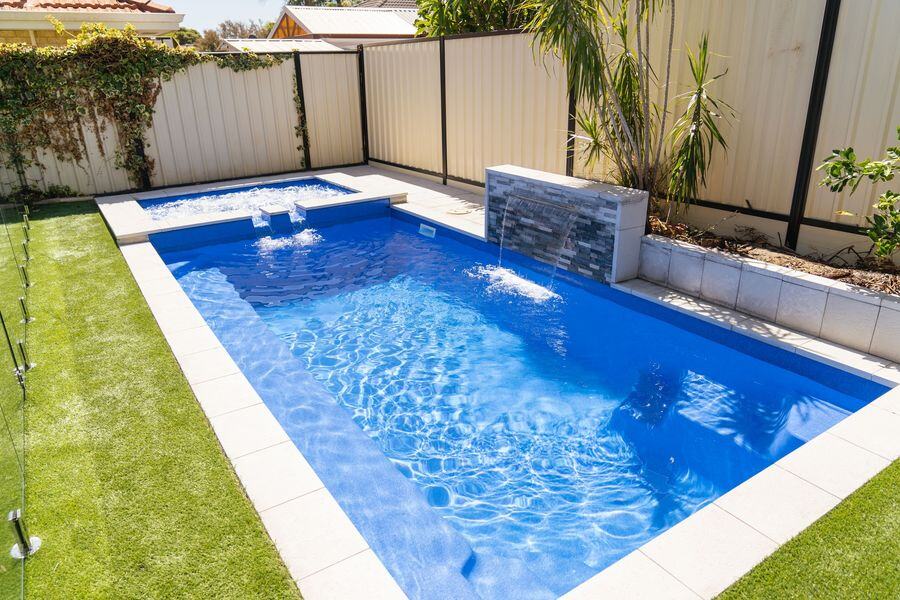
THE ESSENTIALS YOU MUST KNOW BEFORE BUYING A POOL


DIY Pool Kits Australia: What Are the Steps of a DIY Pool Project in Australia?

Don’t Buy a Pool Until You Read This Guide First!
DIY Pool Kits Australia: What Are the Steps of a DIY Pool Project in Australia?
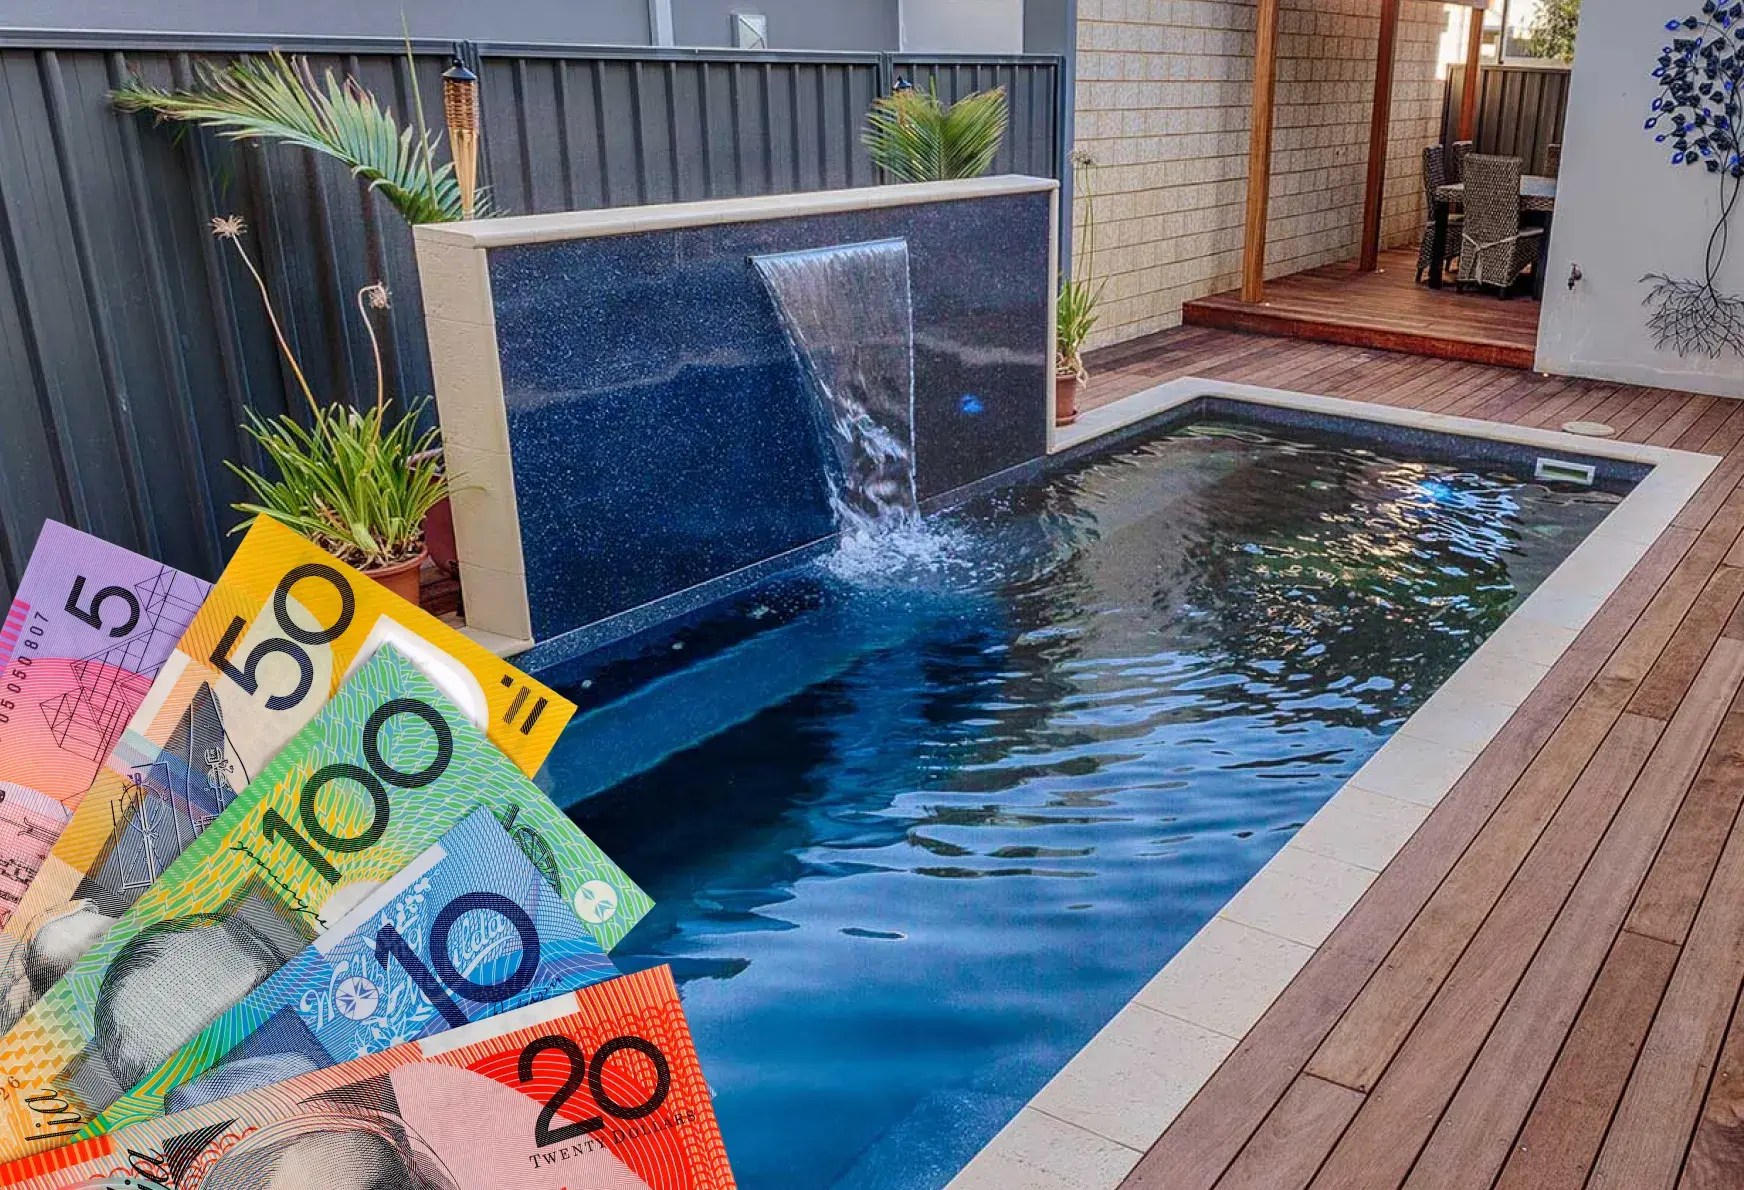
Ever dreamt of having a pool in your backyard but nearly fell off your chair when you saw the quote from a full price, full service pool builder? You’re not alone. That’s why DIY fibreglass pool kits in Australia have become the smart alternative for Aussies who want all the fun of a pool—without the eye-watering installation costs.
Now, before you start picturing yourself floating around with a drink in hand, there’s something you need to know. Installing a pool isn’t just about digging a hole and dropping in a shell. There are key steps to get right—permits, excavation, backfilling, plumbing—you name it. Miss a step, and you could be up for delays, unexpected costs, or worse, a wonky pool.
The good news? You don’t have to figure it out alone. With the right guidance and information, you can DIY your pool and still achieve a pro-level finish—without paying pro-level prices.
This guide will give you a general summary of each stage of the process—to keep it brief, we are not listing every single step in each stage—so you can start planning and budgeting your very own backyard water fun park and cool down station.
Ready to go? Let’s get started.
Why More Aussies Are Choosing DIY Pools
Aussies love a good DIY project, and pools are no exception. With a DIY fibreglass pool kit, you can save thousands, control your timeline, and still get a pro-level finish. Whether you’re dreaming of a compact plunge pool or something big enough for family cannonballs, with the right guidance, support and information, a DIY pool lets you build your backyard escape—without waiting months for contractors.

Rohan Taylor
Author

JL O’Donnell
Western Australia
Step 1: Budget – Getting It Right from the Start
The first step in any DIY pool project is to plan thoroughly. Here’s what to keep in mind:
So, you’ve decided to DIY your pool—awesome! But before you start digging up your backyard like an overenthusiastic wombat, proper planning is key. Get this part right, and you’ll save yourself from budget blowouts, timeline headaches, and a whole lot of stress.
Here’s what you need to know before the first shovel hits the dirt.
Know Your Local Rules – Don’t Let Regulations Catch You Out
Before you lock in a pool size or location, check your local council regulations and if you have any easements on your property. Every council has rules on how close your pool can be to fences, homes, and sewer lines.
Where to start?
-
Jump onto www.byda.com.au for free service diagrams
-
If your backyard is tight on space, talk to a private certifier—they can help fast-track approvals and make sure your plan ticks all the boxes.
Easements matter!
You can’t install a pool over a main sewer, water pipes, or drainage channels. If an easement is nearby, check how far your pool needs to be from it—every council is different!
Assess Your Backyard – Can You Get Equipment In?
Next up—earthmoving equipment access:
- Ideal access: 3m wide (smooth sailing!)
- Doable but slower: 1.5m–3m (smaller equipment, longer excavation time)
- The absolute minimum: 900mm (possible, but prepare for extra time and costs).
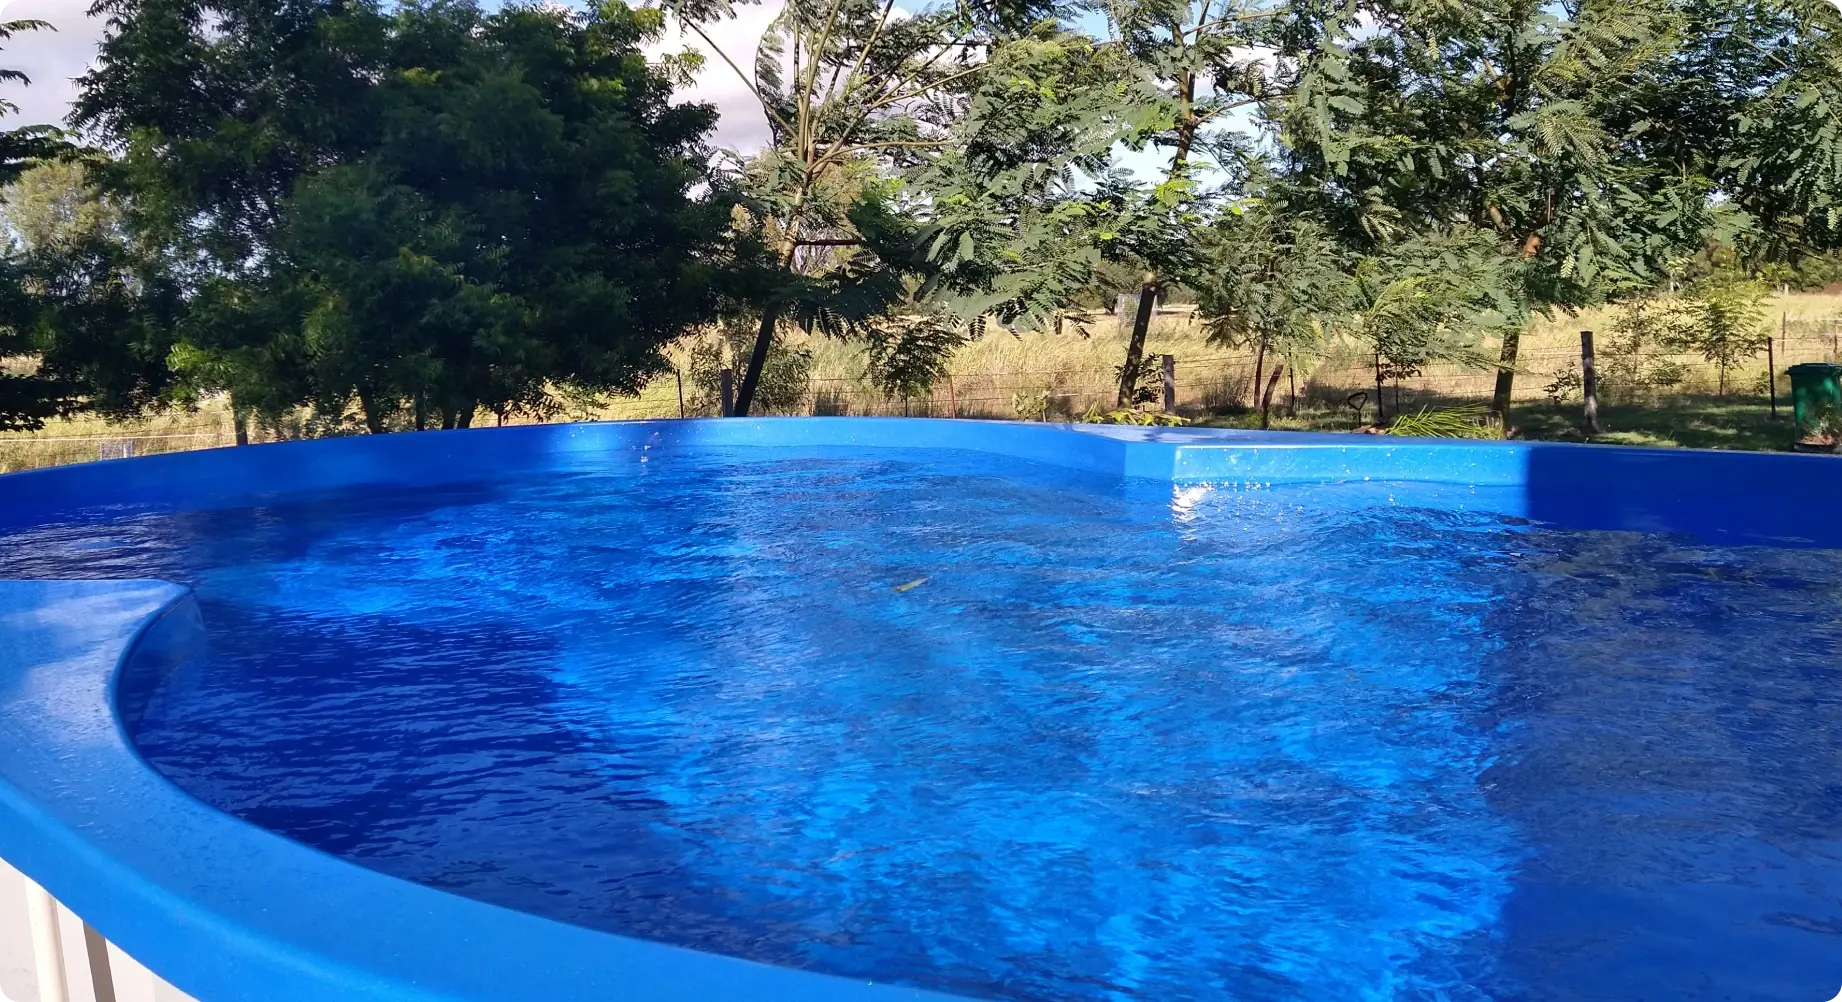
Pro Tip: If your yard is on a slope and your in-ground pool is more than 300mm out of the ground, you’ll need retaining walls. Not keen on extra construction? Consider a semi or fully above-ground fibreglass pool like our patented Plug 'n' Play range—it skips the need for high retaining walls and backfill altogether.
Choosing the Right Pool Kit – Size, Shape & What Actually Fits
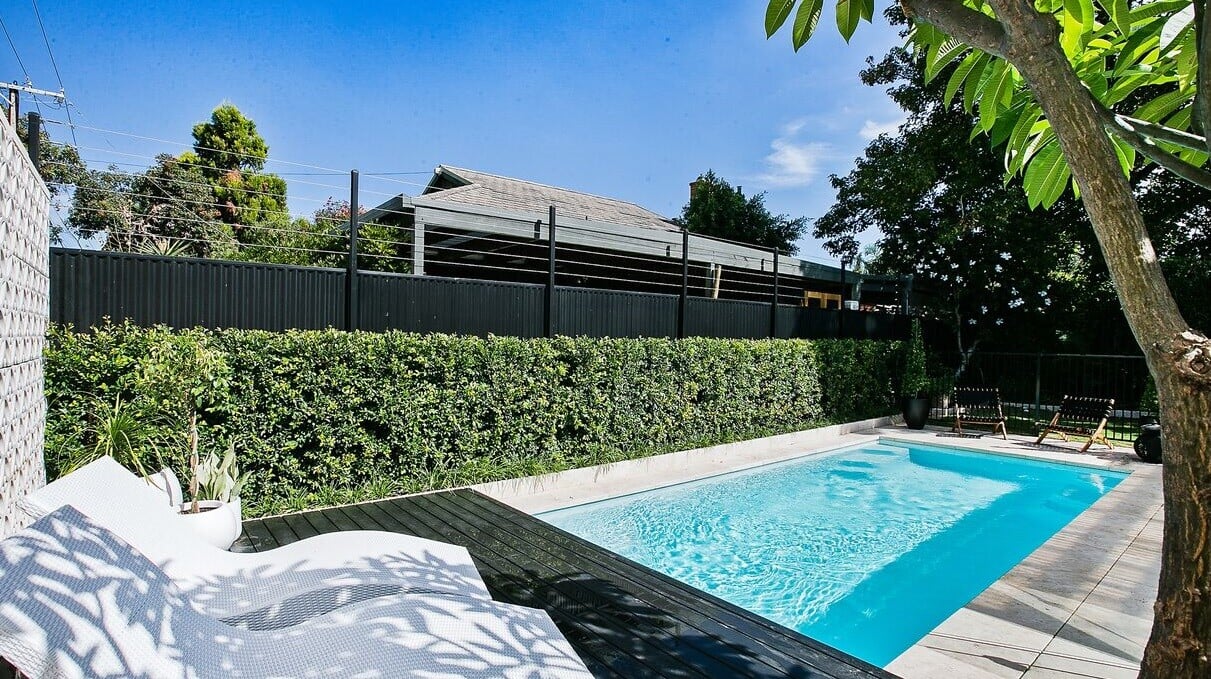
Bigger doesn’t always mean better. A 6m fibreglass pool is plenty of space for cooling off, playing Marco Polo, and lounging on pool floats without taking over your entire backyard.
-
Grab some builder’s string line from Bunnings ($5) and mark out your pool size on the ground
-
This lets you visualise how much space you’ll have left for a BBQ, outdoor seating, or a fire pit.
Setting a Budget – Know What You’re In For
Here’s a rough checklist to get you started:
- Pool Kit (including shell, filtration, and essential equipment)
- Council Permits (fees vary depending on location)
- Excavation & Soil Removal (tipping fees can add up!)
- Bedding & Backfill Materials (varies based on soil conditions)
- Crane Hire (allow for lifting over the house, tall trees etc)
- Concrete Bond Beam (reinforces pool stability)
- Temporary & Permanent Pool Fencing (legally required before filling the pool)
- Paving & Landscaping (unless you love a dirt backyard)
- Electrician (for pool pump and lighting)
- Plumber (if connecting a sand filter to sewer; not needed for a cartridge filter).
Pro Tip: Crane hire doesn’t have to break the bank! If your site has good access, you can get the job done with a Franna crane for as little as $500—way cheaper than lifting an 8,000kg concrete plunge pool!
Bethany Gobbo
Victoria
Step 2: Permits & Compliance – Cutting Through the Red Tape
Alright, you’ve got your pool plan sorted—now it’s time for the not-so-fun but totally necessary step: permits and approvals.
No one gets excited about paperwork, but skipping this step can land you in hot water (and not the relaxing spa kind). Failing to meet council regulations could mean fines, delays, or—worst case scenario—having to rip out your brand-new pool.
The good news? It’s not as complicated as it sounds. Here’s how to get your approvals sorted without the headaches.
Get a Site Plan Drawn Up
Before you even think about filling out paperwork, you’ll need a site plan showing where your pool will sit concerning your house, fences, and underground services.
How to get one:
-
Use a draftsman (quick & professional)
-
Use a free online design tool (if you’re tech-savvy)
-
Ask your DIY pool company for recommendations.
Pro Tip: Your site plan must include easements, sewer lines, and setback distances. If you’re not sure what applies to your property, a private certifier can help.
Apply for Your Permits
All councils in Australia require a permit before you start digging. You can apply directly to your council, and no, you don’t need to be Sherlock Holmes to figure it out.
Two ways to apply:
- Go through your local council – Takes longer but saves money
- Hire a private certifier – Costs extra however a private certifier can cut down waiting times and guide you through the process.
Submit the Right Paperwork
Each state has its own forms and engineering requirements. Your DIY pool company should provide all the pool specific documents, including:
-
Engineering details for your specific pool shell
-
Filtration system compliance info
-
Any state-specific forms (e.g., Form 15 in QLD, Form 126 in VIC).
Pro Tip: Councils provide permit checklists on their websites. Print it off and tick each item as you go—it’ll save you time (and headaches).
%20-%20Copy.webp)
Gillian Darr
Queensland
Step 3: Preparing the Site – Dig Smart, Not Hard
Now comes the fun part—getting your backyard ready for your new pool. But before you start swinging a shovel like an overenthusiastic landscaper on a caffeine high, there are a few critical steps to make sure everything runs smoothly.
Excavation – Digging the Right Hole, the Right Way
The first rule of excavation? Don’t dig too early. You want to excavate no more than 7 days before installation to avoid collapses or turning your site into a giant mud pit if bad weather hits.
How deep do you need to dig?
-
Your DIY pool company will provide a dig sheet with the exact dimensions
-
Soil removal can get expensive—make sure your excavation quote includes tipping costs!
Capital city warning: In places like Melbourne and Sydney, tipping fees can be brutal, especially if the dump site is far away. Plan for this in your budget!
Pro Tip: If rain is on the forecast, hold off on excavation. Digging too early + a heavy downpour = a sloppy, expensive mess to rectify.
Soil Conditions – Know What You’re Working With
Not all soil is created equal. Some backyards are a dream to dig, while others fight you every step of the way.
What’s your soil type?
-
Sandy soil – Easy to work with, drains well
-
Clay soil – Expands and contracts, needs extra backfill for stability
-
Rocky ground – May require heavy-duty excavation tools (and extra patience).
Pro Tip: If you’ve got clay-heavy soil, you’ll need to dig deeper and wider to allow for extra bedding and backfill. Ask your DIY pool company for engineering details specific to clay sites.
Creating a Solid Base – Bedding Layer Matters
Once the hole is dug, it’s time to lay the bedding material—the foundation that ensures your pool sits level and drains properly.
-
Use the right material: Watch our How To videos about the type of bedding materials you can use, and how to level the bedding layer
-
Check for level: The base needs to be level however not compacted.
Pro Tip: Not sure if your base is level? Hire a laser level. They are cheap and easy to use.

Shannon O’Shanassy
New South Wales
Step 4: Delivery & Pool Placement – Crane Day!
This is it—the day your fibreglass pool shell arrives and gets lowered into place. It’s one of the most exciting (and nerve-wracking) moments of the project, but with the right prep, it’s a smooth ride.
The key? Good planning and the right crane for the job. Here’s how to make sure your pool lands exactly where it should—without stress, delays, or any “oh no” moments.
Pool Delivery – Get Your Site Ready
Fibreglass pools come pre-made (one of their biggest advantages), so once your site is prepped, it’s just a matter of getting the shell delivered and positioned.
Delivery Checklist:
- Access is clear – Remove any obstacles that could block the truck
- Crane pad is set up – Ensure a stable, level spot for the crane to operate
- Weather check – Strong winds? Heavy rain? If conditions are bad, reschedule
- Pool orientation confirmed – Double-check the layout before lifting!
Arranging Crane Hire – Choosing the Right One
Unless you’ve got Hulk-level strength, you’ll need a crane to lift and position your pool shell.
What kind of crane do you need?
-
Good access? A Franna crane (cheapest option, starts from $500)
-
Lifting over a two-storey house? A larger mobile crane (more expensive).
Be upfront about site restrictions (tight spaces, powerlines, trees). Surprise obstacles = higher crane costs.
Pro Tip: Ask your DIY pool company for the shell weight—this avoids paying for an oversized crane you don’t need.
Lifting & Positioning the Pool Shell
Now for the main event—lifting your pool into its final resting place.
What to expect:
-
The crane team will attach lifting straps to the pre-installed anchor points and will guide the pool into position
-
Check the shell is generally level before any backfill is added. It doesn’t have to be millimetre perfect. The levels can be raised during backfilling. If the shell is higher than planned, lift it out and adjust the bedding layer.
Pro Tip: Quality fibreglass pools have dedicated lifting points. If your shell doesn’t, ask why and be very careful. Dropped fibreglass pool shells don’t bounce very well.
Tina van Dam
Western Australia
Step 5: Initial Plumbing Connections – Simple, Straightforward & DIY-Friendly
Good news—you don’t need to be a plumber to install your pool’s plumbing! In fact, most of this step is straightforward DIY work, and we’ve got videos to show you through the process.
Step 1: Installing Your Pool Fittings
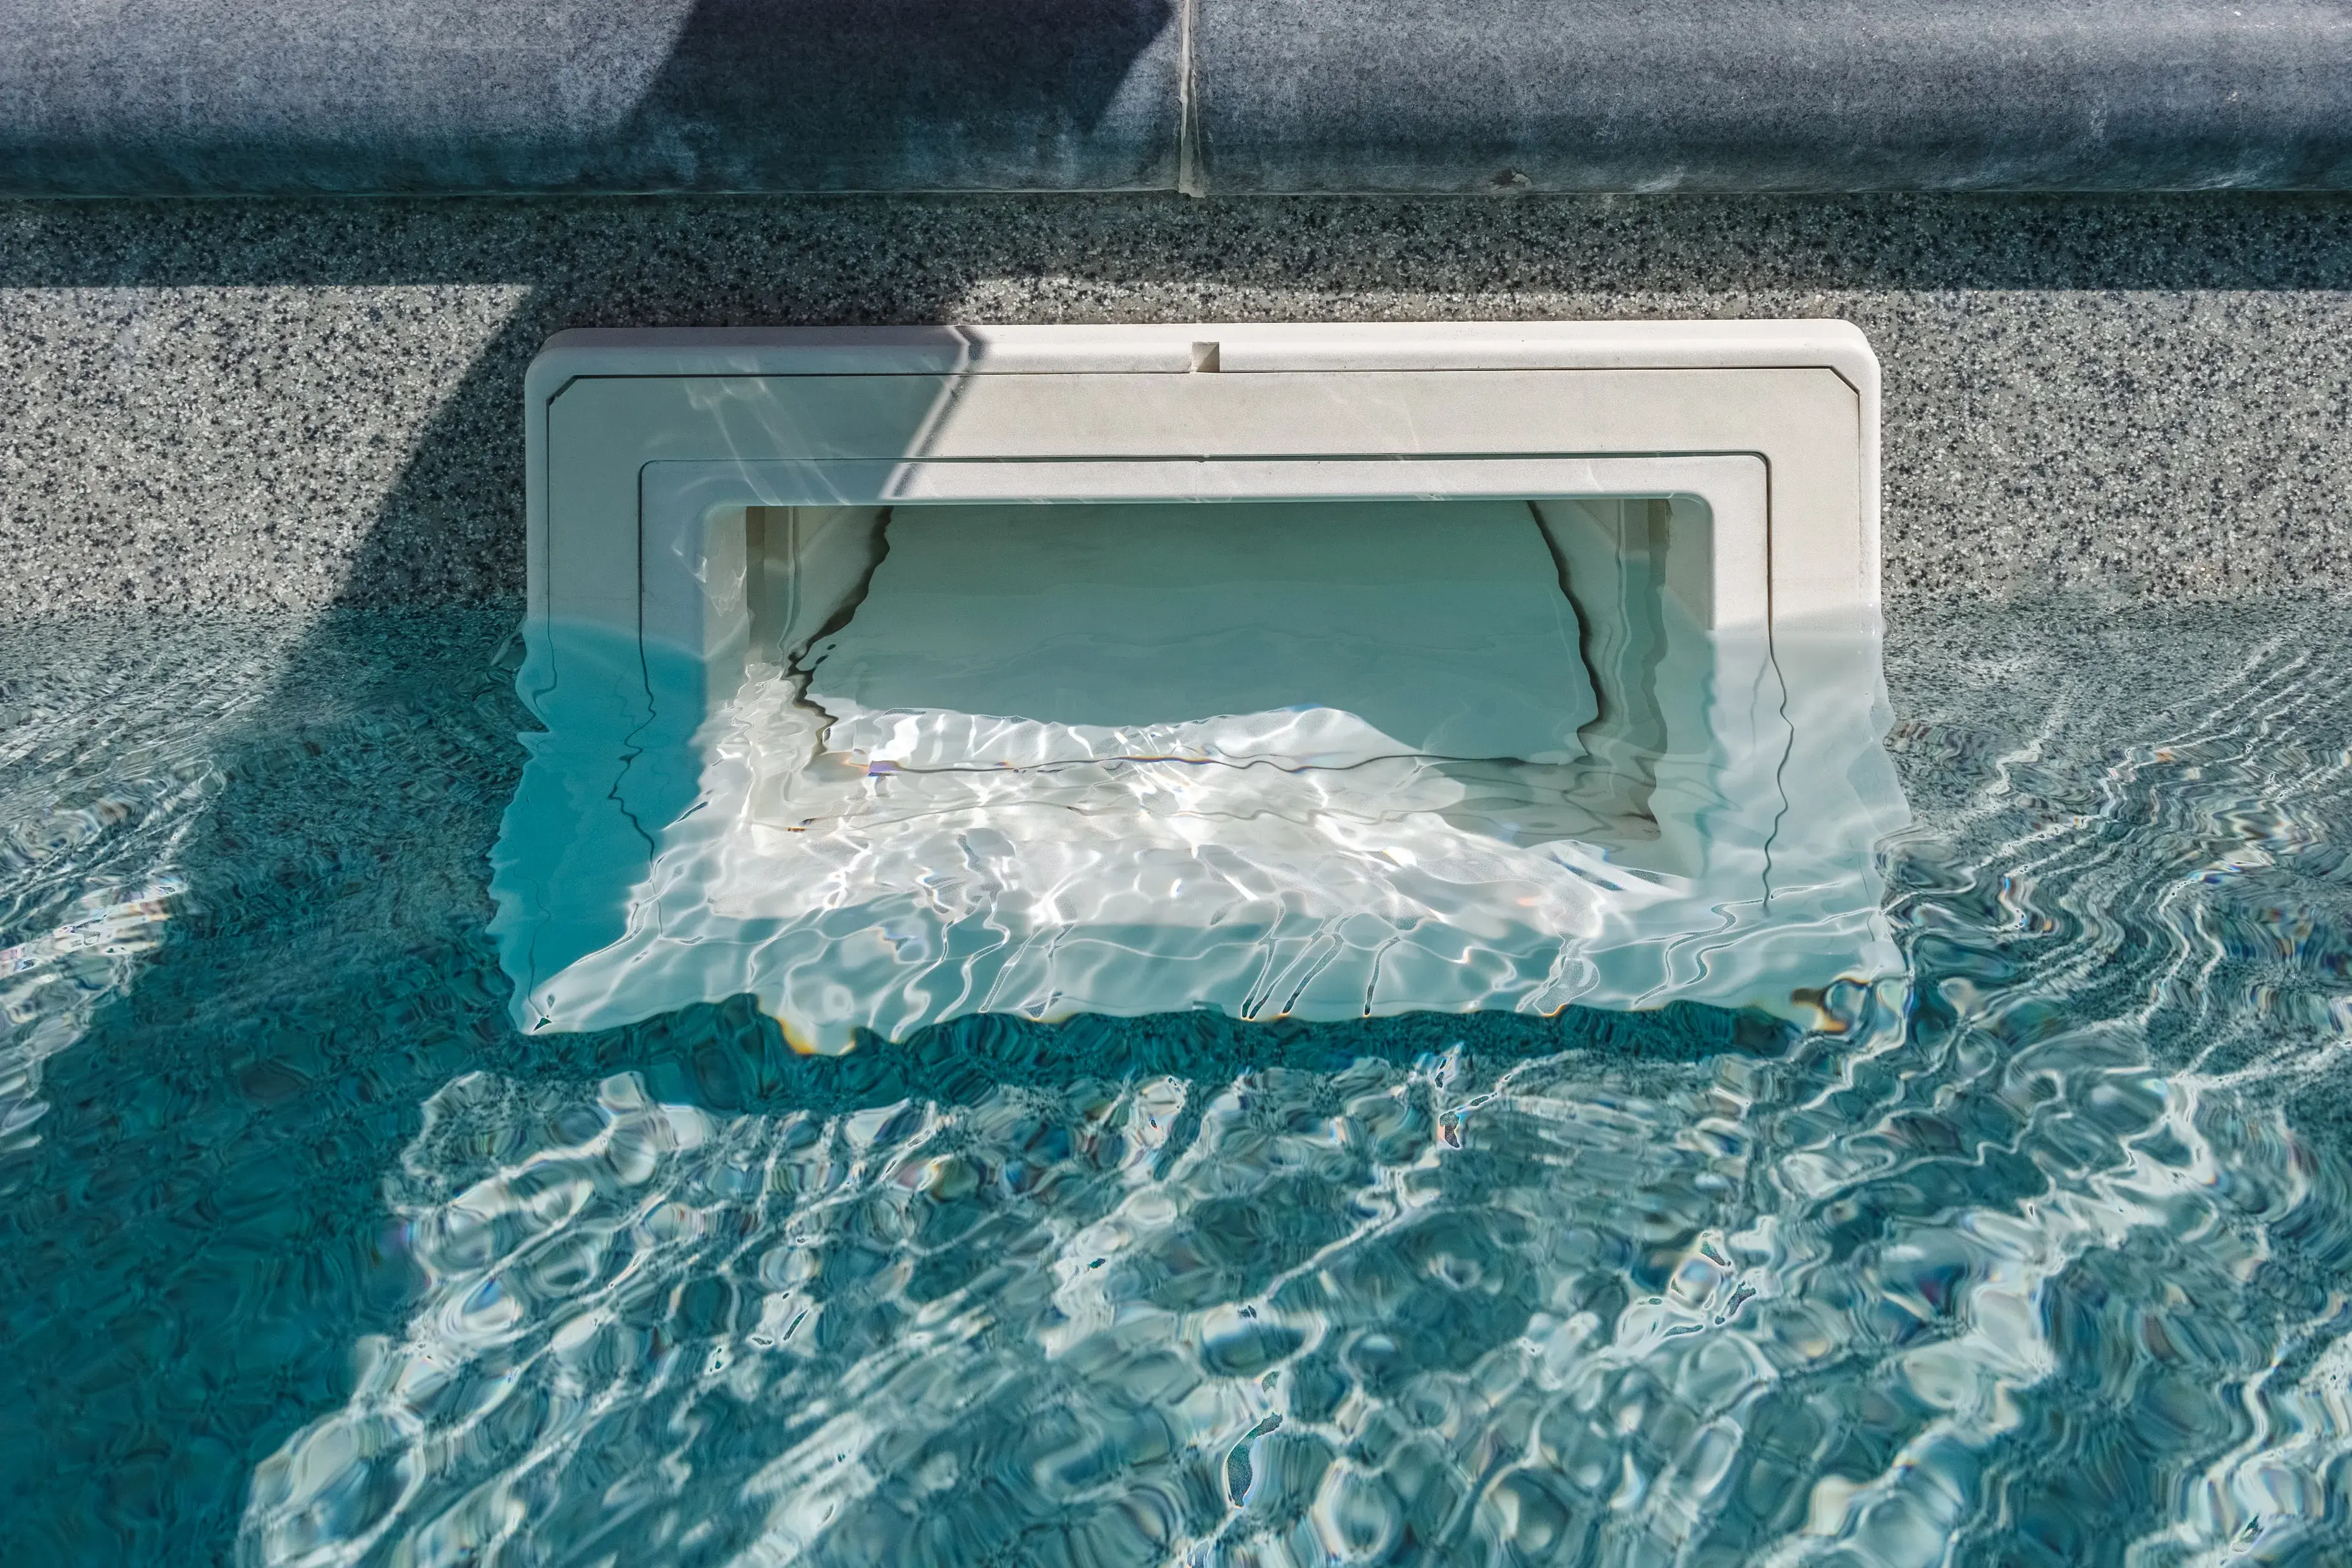
Main Fittings to Connect:
-
Skimmer box – Where the pump draws water from the pool
-
Return jets – Circulates clean water back into the pool
-
Suction lines – Pulls water from the pool to the pump for heating
-
Additional features (if applicable) – Spa jets, deck jets etc.
How to secure fittings:
-
Use Class 9 PVC pipe (stronger & made for pressure systems)
-
Two-part pressure glue ensures a tight, leak-free bond
-
Pressure-test everything before backfilling—because digging up a leak later is NOT fun.
Pro Tip: If your pool has spa jets or heating provisions, get the pipework in place now—even if you’re installing those features later. It’s way easier to add them now than after backfilling!
Step 2: Prepping for Equipment Hook-Up
At this stage, you don’t need to fully install the pump, filter, or chlorinator—but you should have all plumbing ready for when your electrician and plumber come in.
Equipment Checklist:
- Pump location decided – Near power & well-ventilated
- Filter type chosen – Sand filter (requires plumbing to sewer) or cartridge filter (doesn’t)
- Suction & return pipes run to equipment area – Makes hook-up easier later.
Pro Tip: Not sure what filtration system suits you? Sand filters are great for big families & heavy use. Cartridge filters are better for water conservation (no backwashing needed) however need to be cleaned more frequently than a sand filter.
Watch previews of our DIY Pool videos showing the installation of the fittings and hydrostatic valve


Kyle Epema
Victoria
Step 6: Backfilling – Keeping Your Pool Rock-Solid
Now that your pool shell is in place and the plumbing is sorted, it’s time to lock it all in with backfill. Backfilling is the process of filling the space around your pool shell to keep it stable and prevent movement over time.
Choosing the Right Backfill Material
Use cement-stabilised material mixed in the ratio required by Australian Standards Fibreglass Pool Installation 1839:2021 and backfill in layers provided by your DIY pool company. This prevents the backfill from being eroded by groundwater.
What to Consider: crusher/cracker dust is commonly used for backfill.
Watch our video explaining the pro's and con's of the different backfill material
Managing Water Levels While Backfilling
As the backfill goes in, the pool needs to be filled with water. This prevents uneven pressure that could cause the walls to bow in or bow out while backfilling.
Think About:
-
Your water source—Will you use mains water, a water truck, or tank water?
-
Timeframes—Filling takes time, so plan ahead.
DIY Pool Company Support: Your pool kit provider should provide supporting information on how to keep your pool level during the backfilling process.
Pro Tip: If you're in a high-water table area or have clay-heavy soil, keep an eye on the amount of water building up around the pool shell while backfilling to prevent the pool from lifting.
Staying Compliant – Temporary Fencing is a Must
Once your pool holds 300mm of water, Australian safety laws require temporary pool fencing until a permanent fence is in place.
- Plan ahead—book temporary fencing in advance
- Know the rules—fencing must be at least 1.2m high and meet AS 1926.1-2021 safety standards.
Pro Tip: Not having temporary fencing in place when needed can delay your project and lead to fines—sort this out early.
.jpg)
Nicki Herriot
Queensland
Step 7: Electrical & Equipment Plumb-Up – Powering Up Your Pool
With your pool now securely in place, it’s time to get your equipment set up so you can keep your water clean, clear, and swim-ready.
This stage includes connecting your pool pump, filter, and chlorinator—but keep in mind that some tasks require a licensed electrician. Here’s what to plan for.
Electrical Work – What You Need a Pro For
What needs an electrician?
- Power supply – If your pool area doesn’t already have an outdoor power point, an electrician will need to install one
- Pump & chlorinator connection – Your pump and chlorinator will need at least one 10-amp outlet
- Extra features – If you’re adding LED pool lights or heating systems, make sure you’ve got enough power points installed upfront
- Earthing Bond Beam / Pool Fencing – it is an Australian Standards requirement that your steel reinforcing used in the concrete bond beam (see Step 7) is earthed by an electrician. If your pool fence spigots (stainless steel feet used for frameless pool fencing) are within 900mm of the pool edge, these will also need to be earthed.
Plan ahead! If you need electrical work, book your electrician in advance so you’re not stuck waiting to power up your pool.
Pro Tip: If you’re planning on adding heating or extra features later, run extra conduit and power points now. It’s way easier (and cheaper) to set up additional wiring during installation than after everything is complete.
Watch our video showing the steps involved installing plumbing fittings to a fibreglass pool
Connecting Your Pool Equipment
Most DIYers can connect their pool pump, filter, and chlorinator themselves using Class 9 PVC pipe—no plumber needed.
What to think about:
- Pump placement – Should be well-ventilated and easy to access
- Filter choice – Cartridge filters require no plumbing to the sewer, while sand filters need a plumber if they’re being connected to the mains
- Future-proofing – If you’re considering heating, automation, or additional features later, leave space for expansion
- DIY Pool Company Support: Your supplier should provide guidance and videos on equipment setup so you complete the job like a pro.
Pro Tip: When positioning your pump and filter, minimise the number of 90 degree elbows used to join your pipework. Too many 90 degree elbows reduces water flow rate and efficiency.
Rohan |
Complete Fibreglass Pool Kits
Have a look over your power company's website to see if they offer power rebates for energy-efficient pumps. Plenty do, and it's a phone call to change companies these days if yours doesn't.
Another resource is www.energy.gov.au/rebates Your local council might also be offering.
Wyn Heys
South Australia
Step 8: Bond Beam, Coping Pavers & Pool Fencing – The Final Touches
With your pool secured and equipment installed, it’s time to lock everything into place and get your pool area looking like the real deal. This stage involves laying the bond beam, choosing your coping pavers, and ensuring your pool fencing is compliant.
The Bond Beam – Why It Matters
The bond beam is a reinforced concrete beam that runs around the perimeter of your pool. It provides structural support, ensuring your pool remains stable and preventing movement over time.
What to Consider:
-
Your DIY pool company will provide the required engineering details
-
Concrete needs to be reinforced with steel bar or mesh
-
This step is critical before installing pavers or decking.
Plan ahead! The bond beam needs to fully cure before installing paving and landscaping. Your installer or concrete supplier can advise on curing times.
Choosing & Installing Coping Pavers
Coping pavers are the first row of paving around your pool’s edge. They provide a clean, finished look while creating a functional edge for swimmers.
Things to think about:
-
Material options – Choose from natural stone, manufactured pavers, or exposed aggregate concrete
-
Colour & texture – Lighter pavers help keep surfaces cooler in summer
-
Slip resistance – Important for safety, especially if you have kids.
Permanent Pool Fencing – Getting It Right the First Time
Your permanent pool fence must be installed and compliant with Australian safety laws. Until your permanent fencing is in place, you must continue to use temporary fencing.
Fencing must:
-
Be at least 1.2m high (from ground level)
-
Have no climbable objects within 900mm (e.g., furniture, trees)
-
Have a self-closing, self-latching gate.
Plan ahead! Your council will need to approve your permanent pool fencing after installation, so check local approval processes early.
Sharon McGrath
New South Wales
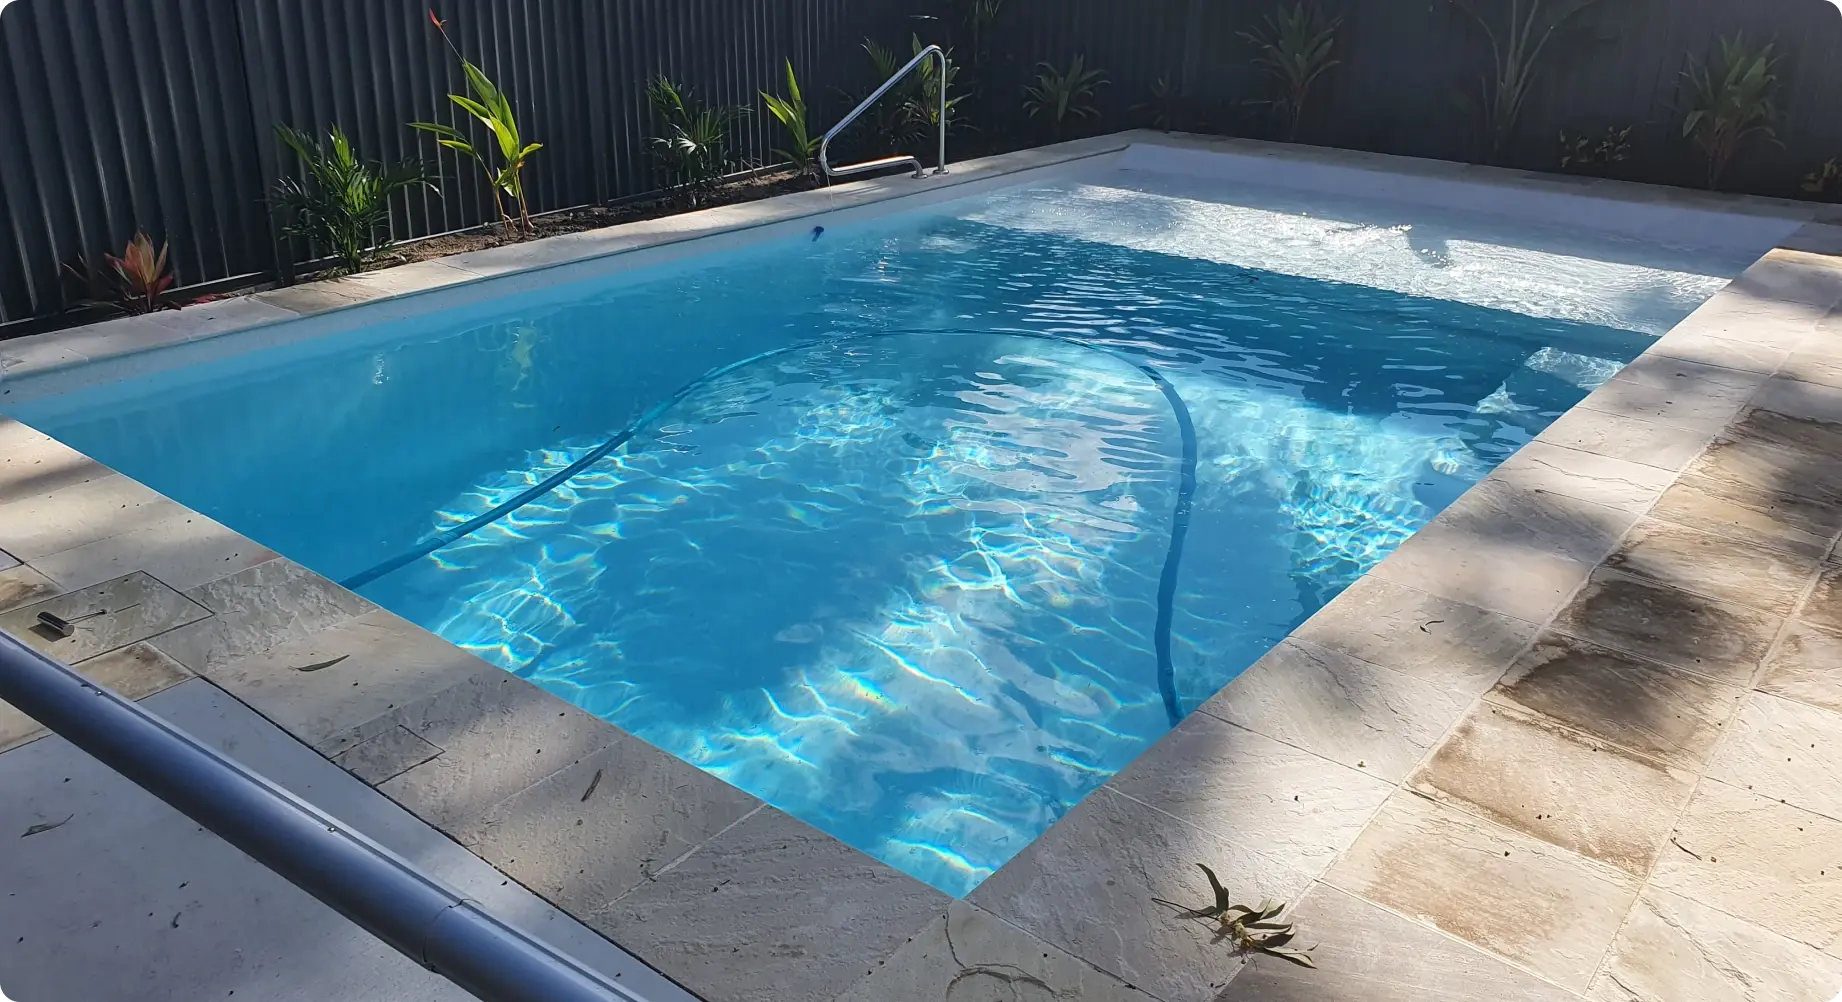
Step 9: Balancing the Pool Water – The Final Prep for a Perfect Swim
With your pool fully installed, it’s time to get the water crystal clear and swim-ready. Before balancing the water chemistry, you’ll need to remove any leftover dirt and debris from installation.
This step is quick and easy, but skipping it can lead to cloudy water, algae growth, or damage to your pool surface and equipment.
Here’s what to know before taking that first splash.
Removing Backfill & Debris with a Manual Vacuum
After installation, fine dust and debris from backfilling and construction may have settled on the pool floor. This won’t be picked up by your pool’s filtration and will ruin a brand new robot pool cleaner—a manual vacuum is the best way to clear it out.
How to Get Rid of Installation Debris:
-
Use a manual vacuum (not an automatic cleaner — you’ll void your warranty)
-
Vacuum to waste (if using a sand filter) to prevent clogging the filter
-
Take your time — fine debris can cloud the water if disturbed too much.
Pro Tip: Use a skimmer box sock to stop larger stones and debris from slipping through the skimmer box basket.
Testing & Balancing Your Water
Once your pool is clean, it’s time to balance the water chemistry.
Key Levels to Adjust (these are the top 3 to focus on initially):
-
pH – Ideal range: 7.2 – 7.6 (Prevents irritation and equipment damage)
-
Total Alkalinity – Ideal range: 80 – 120 ppm (Helps stabilise pH)
-
Sanitiser (Chlorine) – Keeps water safe and bacteria-free.
What to Do:
-
Use a pool water test kit or take a sample to a local pool shop for analysis
-
Adjust chemicals gradually—small changes are better than big corrections.
Pro Tip: If you're using a saltwater or mineral chlorinator, don’t add salt all at once. Add it in stages and test levels to prevent overshooting the ideal range.
Running Your Filtration System
Your pool pump and filter should run continuously for the first 48 hours to properly circulate water and distribute chemicals. After that, you can adjust to a normal daily cycle based on usage and climate.
Things to keep in mind:
-
Run time – Standard filtration time is 6–8 hours per day (shorter in winter / longer in summer)
-
Monitor pressure – If pressure builds up in your filter, backwash (sand filter) or rinse (cartridge filter) as needed
-
Keep an eye on clarity – If the water looks cloudy, re-test and adjust chemicals.
Pro Tip: A pool cover can reduce chlorine loss and help maintain water balance, especially in hot weather.

Hayley Ryan
South Australia
Yes, You Can DIY Your Own Pool—And Here’s Why
If you’ve ever wondered whether you could DIY install your own pool, now you know—the answer is a resounding YES!
Sure, there are steps to follow, but as you’ve seen, each stage is totally manageable with the right guidance and a bit of planning. Thousands of Aussies—just like you—have taken on this project and transformed their backyards while keeping thousands of dollars in their bank accounts.
And the best part? That moment you step back and admire what you’ve built. There’s nothing quite like knowing you’ve not only created an incredible space for your family but also saved a serious chunk of cash by doing it yourself.
What’s Next? Your DIY Pool Journey Starts Now
-
Need a confidence boost? Watch our timelapse video to see just how achievable it is!
-
Want expert advice? Our team is here to help with planning, equipment, and guidance
-
Ready to start? Explore our DIY fibreglass pool kits today.
Watch Now: Timelapse Fibreglass Pool Installation Australia From Start To Finish
A DIY pool is within your reach. All you need is the right plan, the right support, and the confidence to get started. And now—you’ve got all three.
For those who want all the details, explore our step-by-step installation page. Whether you're just curious or ready to dive into your own project, these resources will give you the confidence to make it happen!
Rohan Taylor
Author

Join our weekly email
Sign up for the very best DIY pool content, delivered once a week.
We care about your data in our privacy policy.
What’s Next
Hidden Costs of Pool Ownership in Australia (2026 Edition)
The brochure price gets you most of the way to the truth. The res...
What's in a Fibreglass Pool Quote (And What's Not)
A “fibreglass pool quote” can mean three completely different thi...

Pool Running Costs Per Year in Australia (2026)
Build cost is the conversation everyone has. Running cost is the ...
How Fibreglass Pools Affect Property Value
Thinking about adding a pool but wondering if it actually pays off?
Pool Finance in Australia: Loans vs Redraw vs Personal Loans (2026)
Many pool buyers focus heavily on build cost but underestimate th...
Best Time of Year to Buy a Pool in Australia (Seasonal Pricing Guide 2026)
Many pool buyers do not realise the best-value months to sign a p...
Complete Fibreglass Pool Cost Guide Australia, 2026 Edition
How much does a fibreglass pool actually cost in Australia?
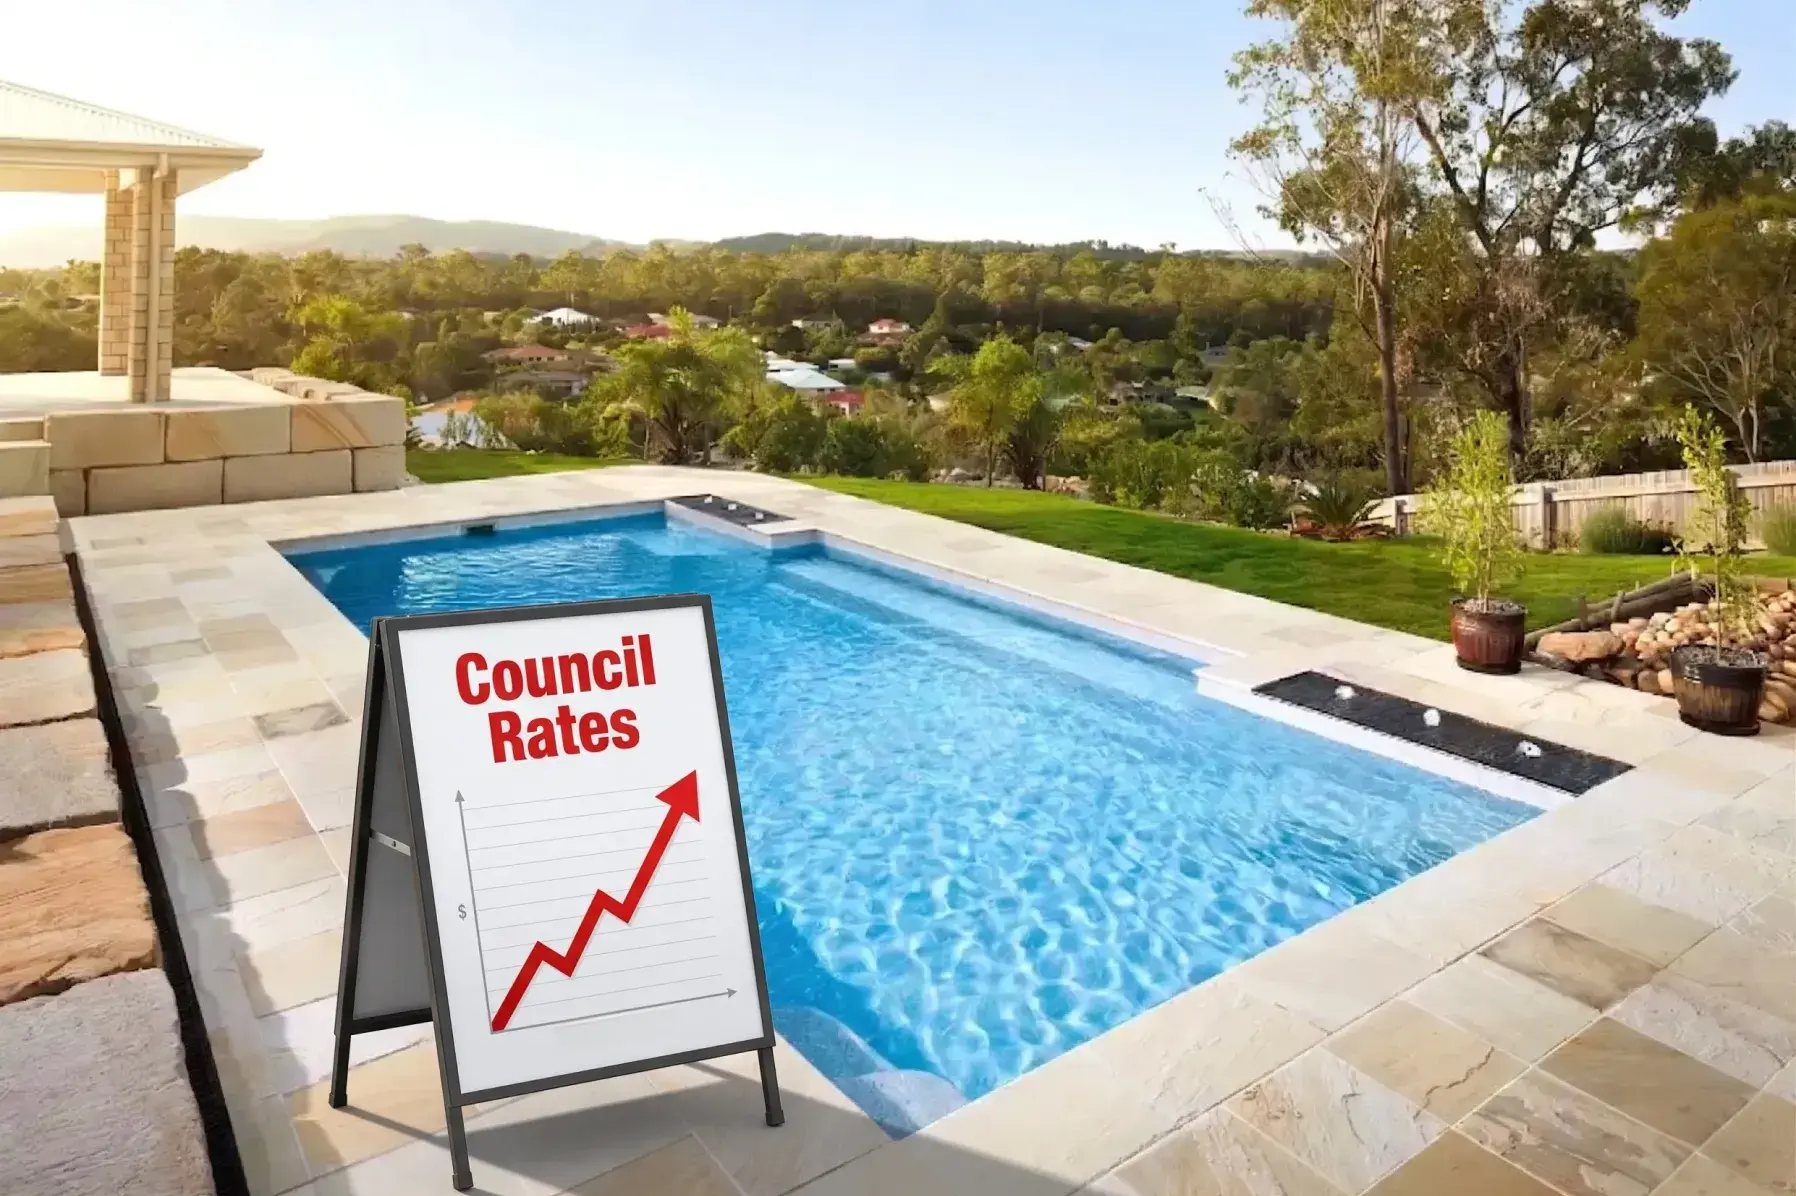
Council Rates and Insurance: How Much Will They Increase?
You’ve been dreaming about it for years - summer arvo BBQs, the k...
Why Pool Prices Vary Between Installers (And the Red Flags to Avoid)
Three pool quotes for what looks like the same fibreglass pool can come back $30,000 apart. Th...
How Long Does a Fibreglass Pool Installation Really Take? The Honest Timeline
Seven days. That's the number that tends to circulate online, and technically, for the physical a...